Create an Invoice
Creating Invoices with Ottu's Invoice Plugin: A Step-by-Step Guide.

1- Navigating to the Create Invoice Section
2-Filling Out the Invoice Form
3-Completing the Payment Request Form
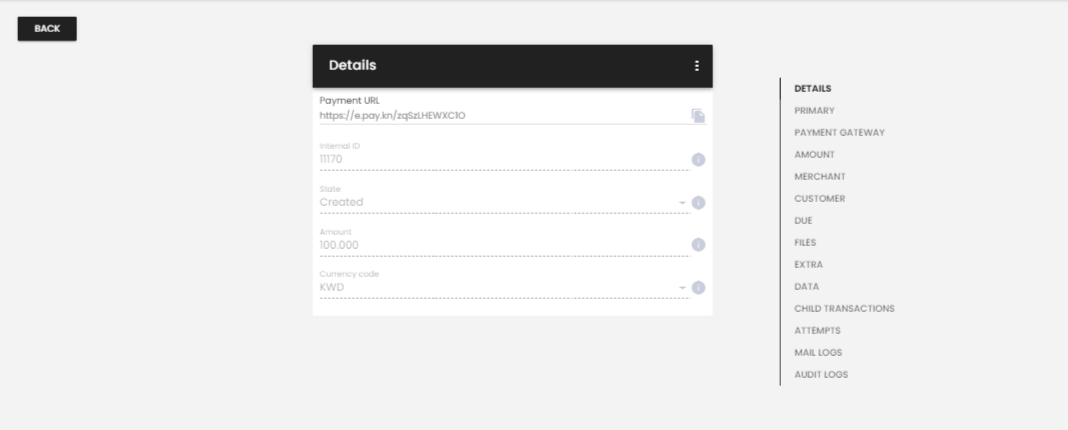
4-Transaction Confirmation and Payment Link Generation
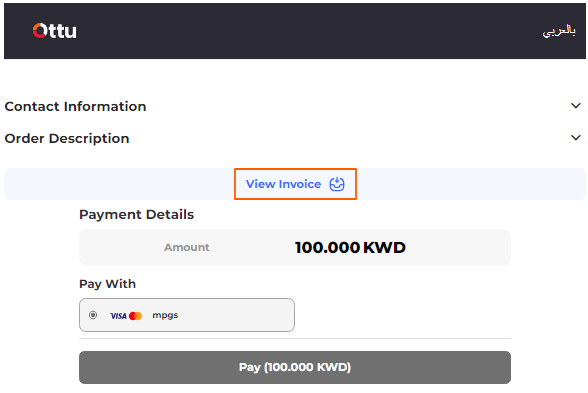
5-Guiding Customers to Checkout Page with a Shareable Payment Link
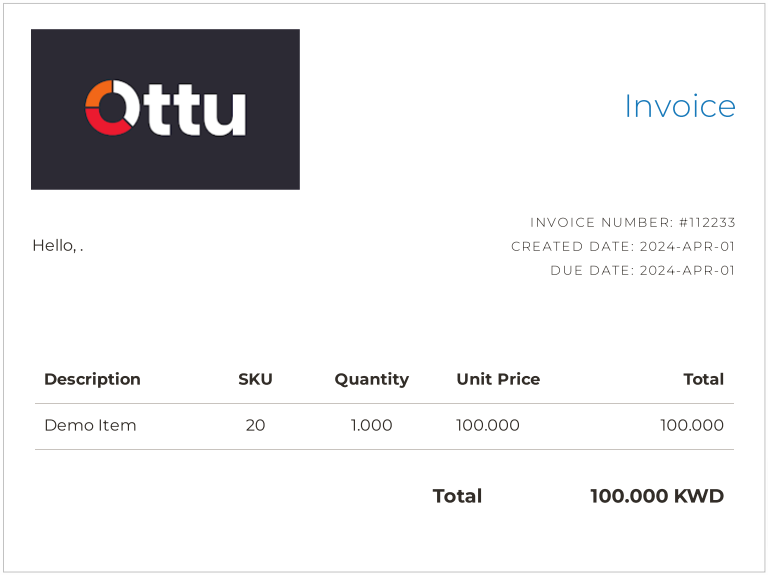
6-Viewing the Invoice Associated with Payment Transactions